Nitre blueing - 08/06/15 06:27 PM
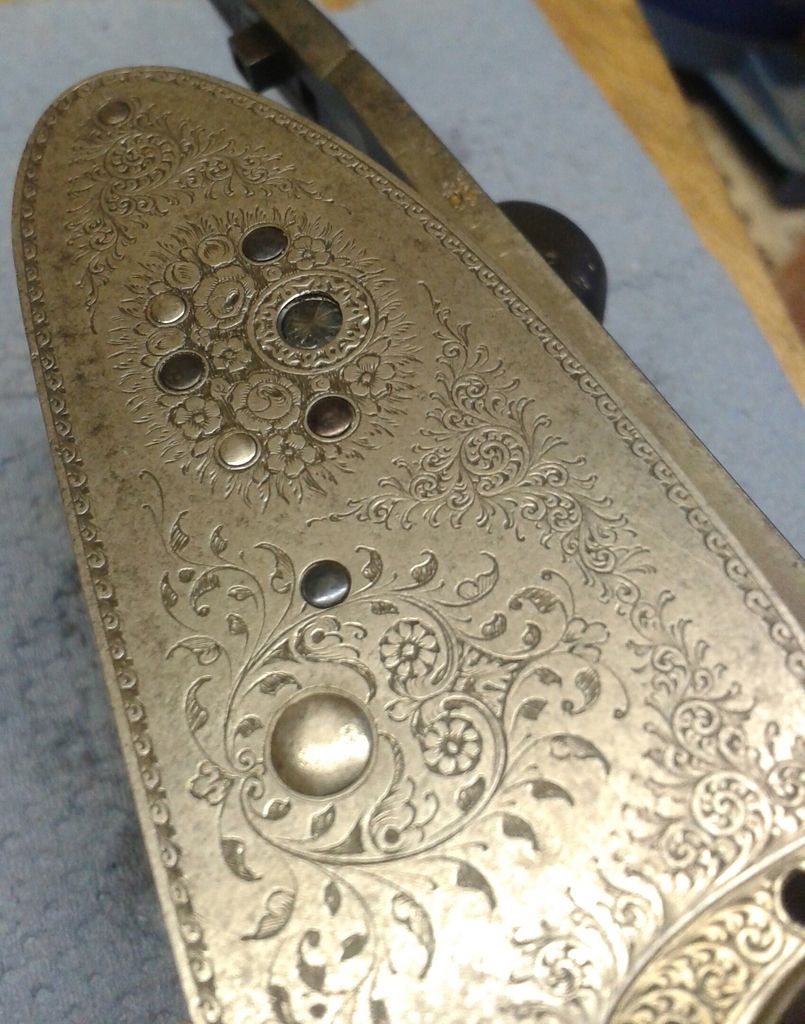
I've never tried it before but took the plunge last week. Had a nice sidelock action to tidy up and thought I'd have a go at the screws and pins.
I'd bought some charcoal blueing salts from Peter Dyson (UK) a while back but not had a chance to use them.
The instructions seemed a bit short, but on reflection, they told me all I needed to know.
Most pins were on the bench but I opted to remove the ones from the locks one at a time as I didn't want to mix them up.
A quick polish on the mops first, then into a caustic soda solution to thoroughly degrease the parts and remove any polishing compound was all the preparation needed.
I tipped the powder into a stainless container and heated it over a small camping stove.when the powder turns to clear liquid, it's apparently at the right temp to work so after a rinse and dry, the first screw or pin was dipped into the molten solution and as you watch, it turns straw yellow, then red to purple and then to a lovely dark blue, at this point, the part needs quenching in water followed by a quick drying with paper towels and I dropped them in de-watering oil.
I was surprised by how easy it is to achieve really good results, admittedly, I had to repeat the process on a couple of parts as I'd held them in the solution too long and they'd gone from blue to grey, a quick polish and degrease is all that was needed before popping them back in until they were the correct colour.
A word of caution, the salts are heated to 400'C so are very hot, keep water, hands and eyes well away. I used long tweezers for the first couple of parts but soon decided to hold the tweezers with pliers as the heat made my gloves too hot . Eye protection is an absolute must aswell.
The results were really good so if you've never tried it but thought about trying, give it a go, it's one of those little jobs that can make a gun look just that little bit better.
 [/URL]
