December
S M T W T F S
1 2 3 4 5 6
7 8 9 10 11 12 13
14 15 16 17 18 19 20
21 22 23 24 25 26 27
28 29 30 31
Who's Online Now
1 members (SKB), 533 guests, and 3 robots.
Key: Admin, Global Mod, Mod
Forum Statistics
Forums10
Topics39,663
Posts563,906
Members14,605
Most Online9,918
Jul 28th, 2025
Previous Thread
Next Thread
Print Thread
#161846 09/23/09 07:46 AM
Joined: Dec 2008
Posts: 571
Likes: 9
wburns Offline OP
Sidelock
**
OP Offline
Sidelock
**

Joined: Dec 2008
Posts: 571
Likes: 9
I posted over on another board and thought you guys might like this. If anyone else has any other tips please share, people might like to hear them (including myself.

This evening I had to get my wife's gun finished for her duck hunting trip this weekend. I have been fitting the gun to her over the last week and had the pad left to install. Due to her gun fit I had to add a negative pitch spacer (thicker on the toe than the heel) to give her a setup of 60/40 pattern on the patterning board.

From time to time I have seen people on this forum asking about pad installation. I thought I would show the steps and method I use. It is actually a very simple process which may seem harder than it really is until you see how it is done. Below are my steps.

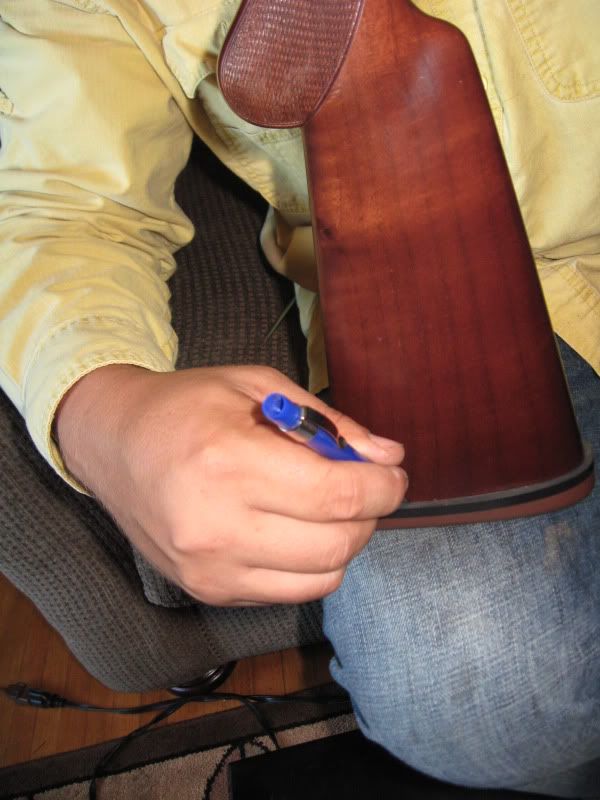
1. First I attach the pad to the base of the gun and trace the outline of the stock onto the pad


2. Next I put the the pad in the freezer over night to harden the rubber to make the pad grind easier. The toe often is difficult to grind even due to the softness of the rubber. That is where freezing the pad comes in handy.


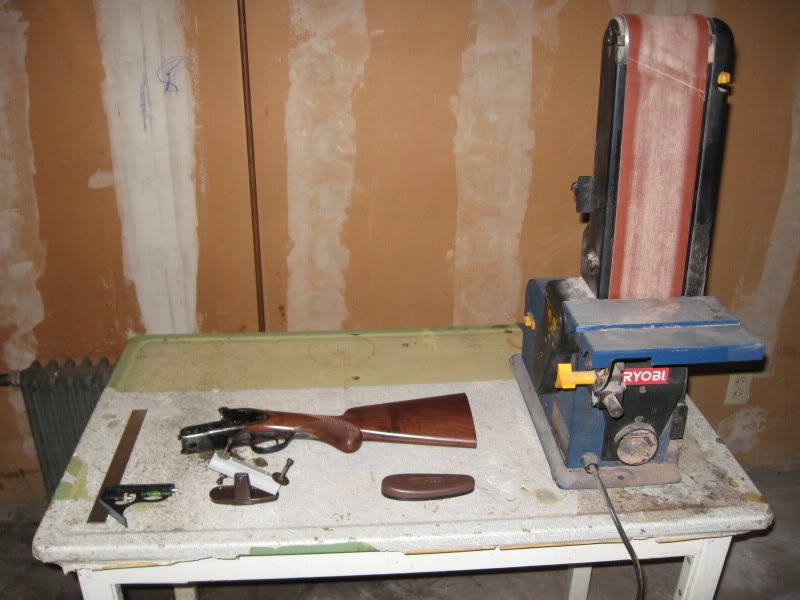
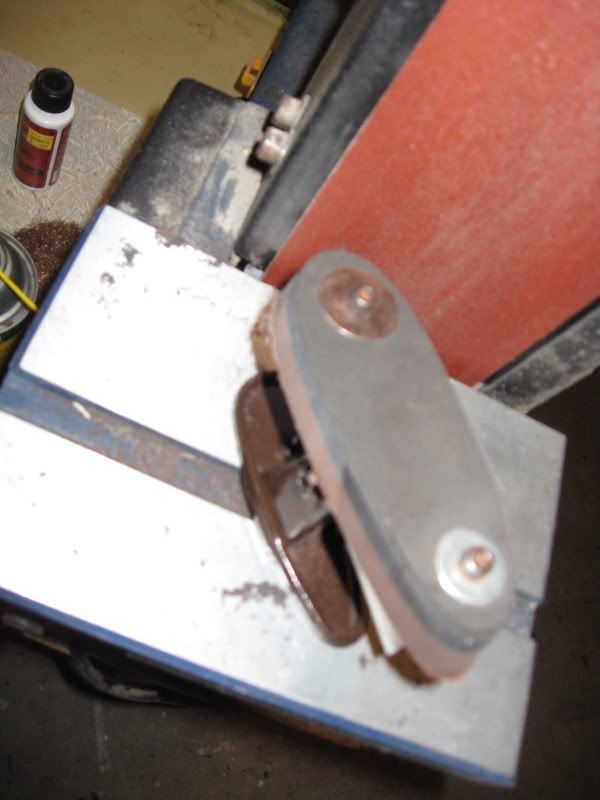
3. The tools used: I use an upright belt sander with 180 grit paper. I also use a pad grinding jig (Miles Gilbert, cost $50.00), square, screwdriver, furniture oil, and a sanding block.


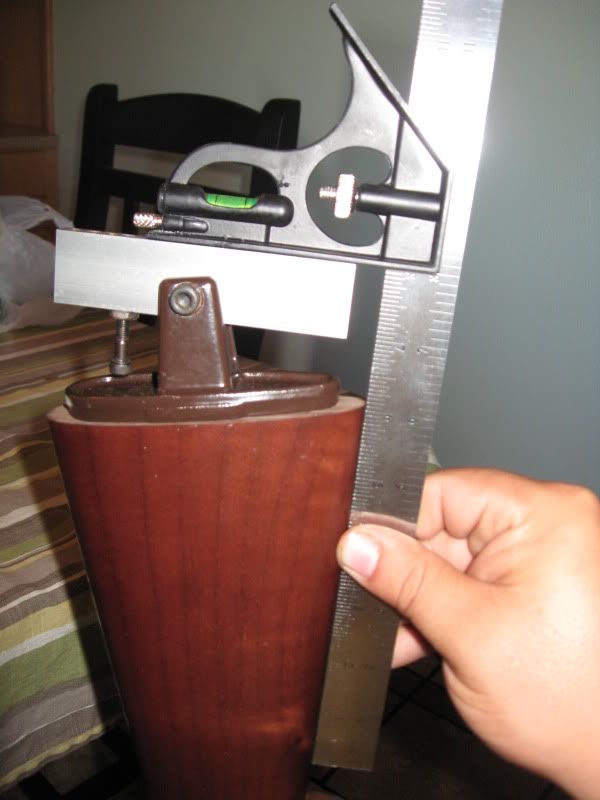
4. I first set up the angle of the heel for grinding by putting the jig on the stock.


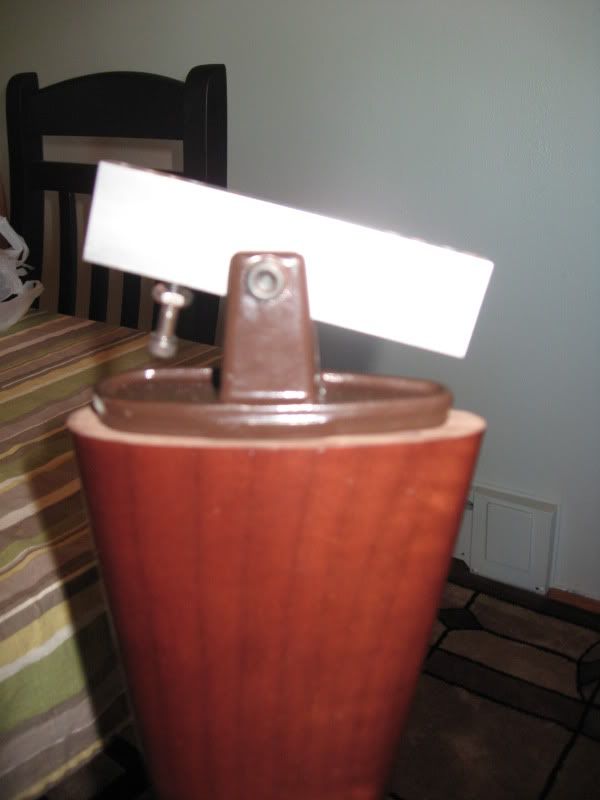
The bolt under the aluminum bar screws out until it bottoms out on the bottom of the jig. That is where you tighten it down for the correct heel pitch.


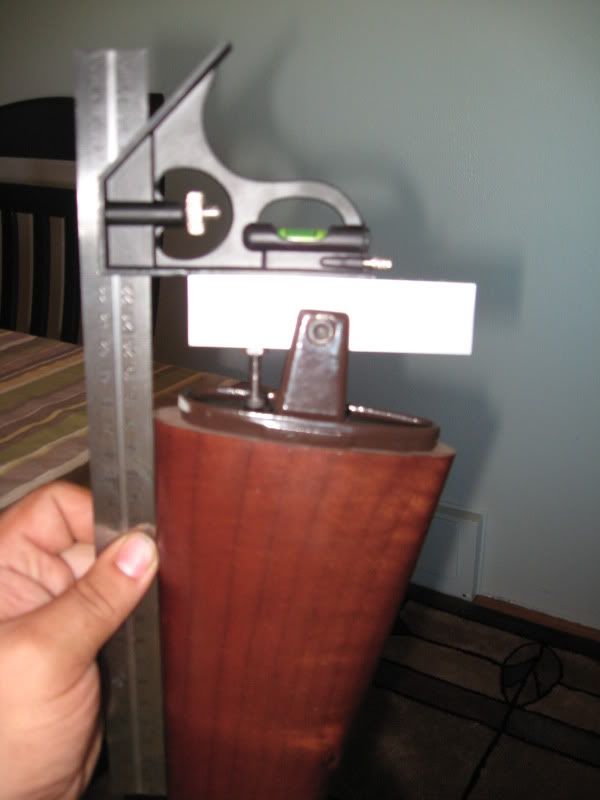
5. I next set the pitch for the toe to be ground. The center bolt that holds the aluminum bar is tightened to hold the angle.


6. I now bolt the pad to the jig and begin to grind the toe of the pad.


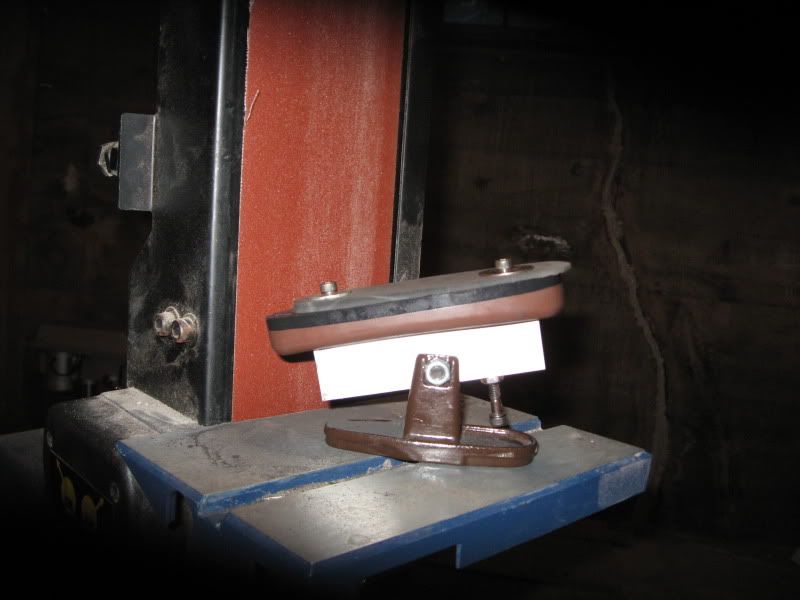
I grind to about the mid point of the pad to ensure the sides stay even for the final fitting.


7. Next I loosen the center bolt and tip the pad down until the bolt bottoms out on the jig like in step 4.


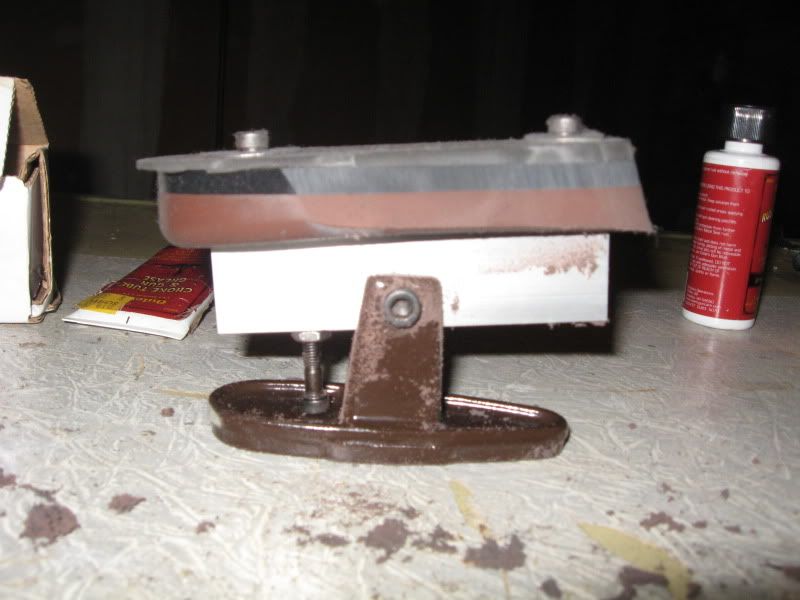
I tighten the center bolt again to hold the angle and then I grind the heel.


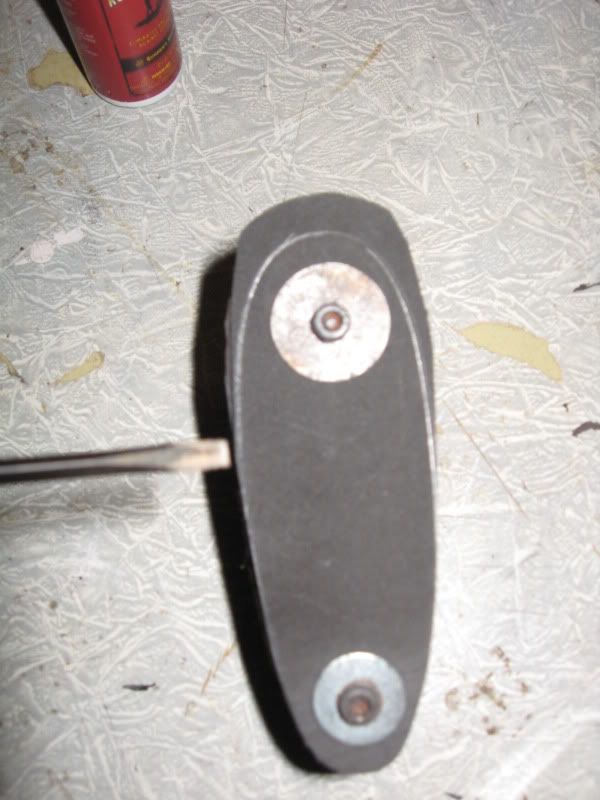
8. I next take the pad and the spacer off of the jig.


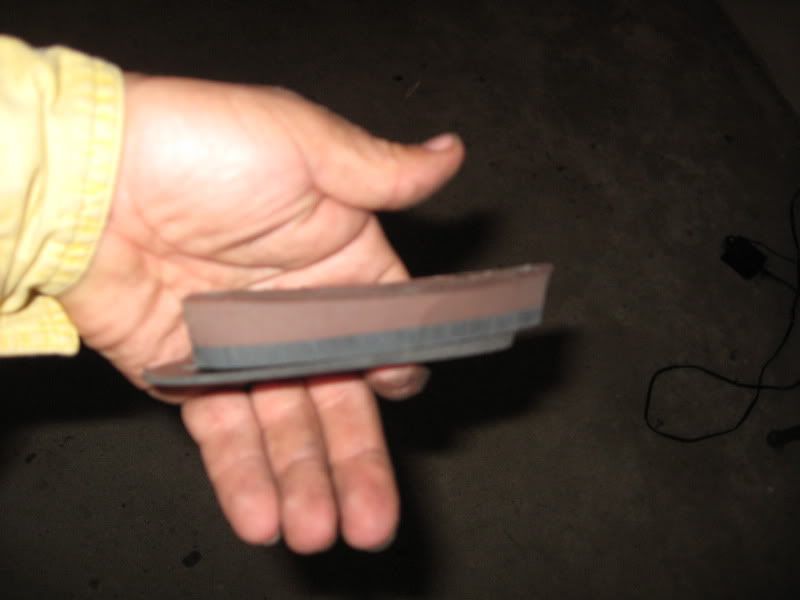
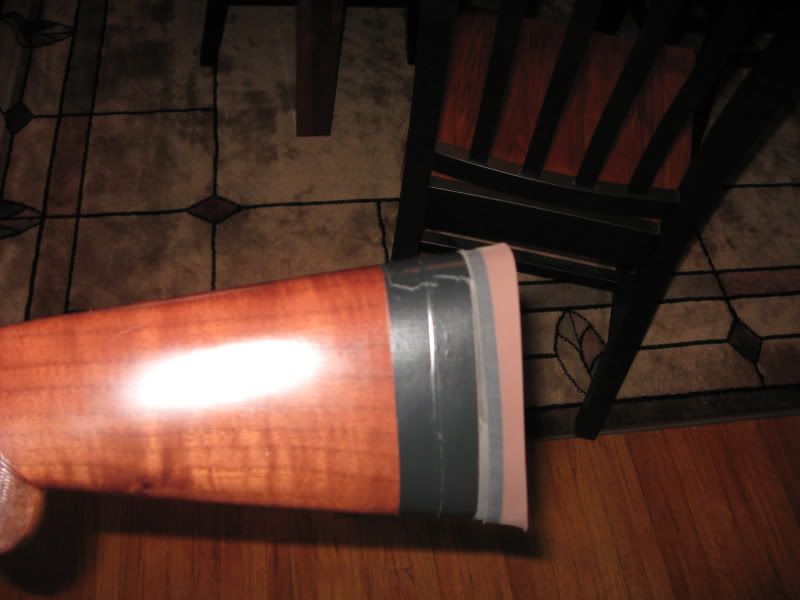
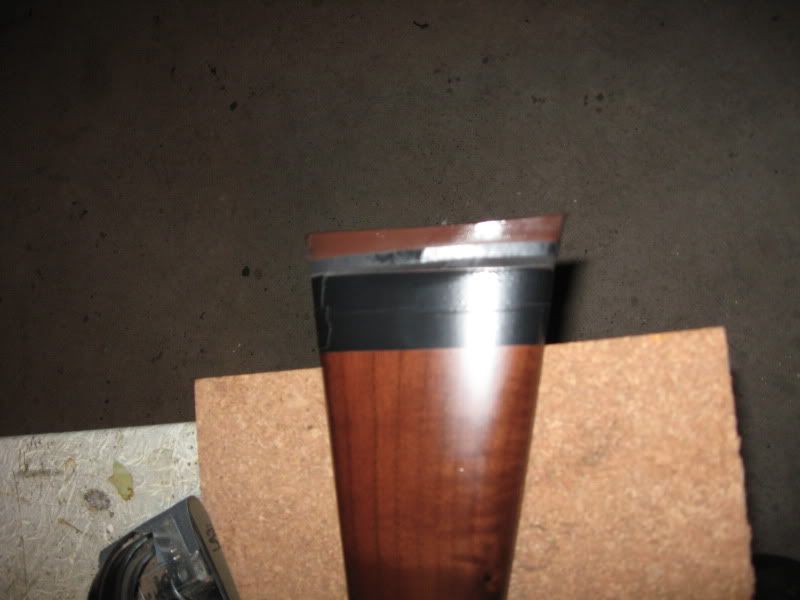
Then I reattach it to the stock which has had black electrical tape carefully wrapped around the stock to protect the finish during pad installation.


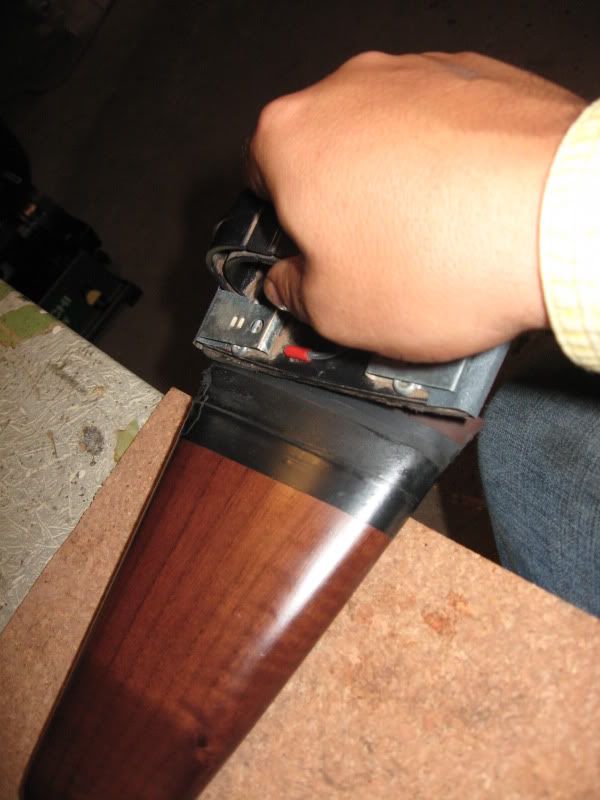
9. Here is the pad installed with the sanding block and oil I use.


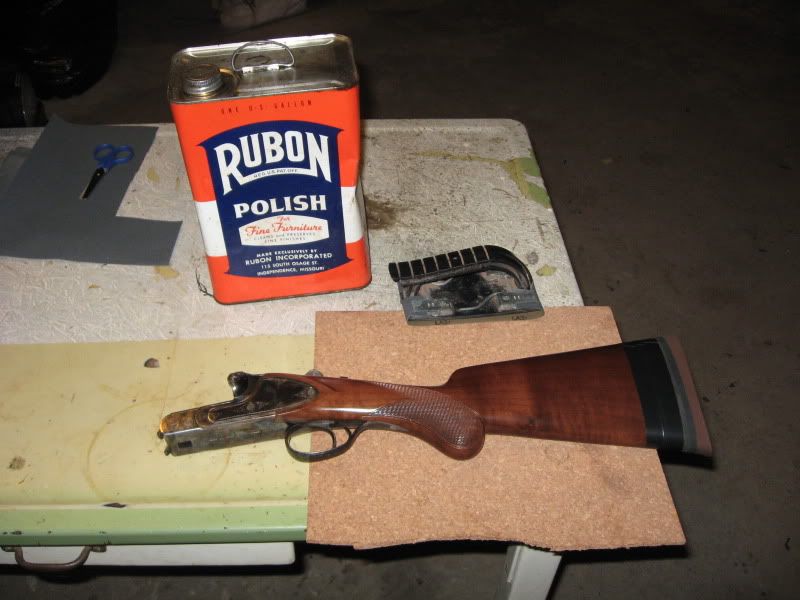
I wet the pad down with the furniture oil prior to sanding.


I then begin to sand using wet/dry sand paper in 180 grit. I wet the pad down often while sanding. I finish the pad off with 220 grit.


10.The finished product.


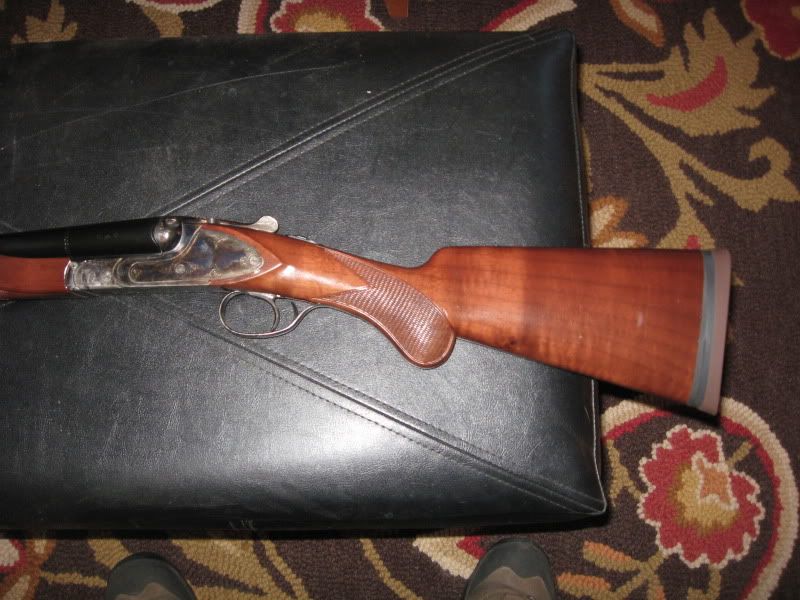
I highly recommend the jig. I have ground pads for myself and friends so it has paid for itself many times over. The time spent on the project was around 2-2 1/2hrs in total. I hope you enjoyed the pictorial and it will inspire some of you to try on your own.

wburns #161856 09/23/09 09:11 AM
Joined: Oct 2006
Posts: 572
Sidelock
**
Offline
Sidelock
**

Joined: Oct 2006
Posts: 572
I screw the pad to the stock,put two wraps of tape on the stock and use a disc sander to fit the pad to the wood. When I touch the first course of tape I hand sand with an oribital sander. Taking almost all of the tape off I then use strips of 400 grit paper to make the final fit and sand smooth.

It took a few times with a junk stock to get it right but it takes less time and looking straight down onto the stock and pad you can get the fit at the toe just right.

Regards, Gordon


Our Dogs make our lives better
Joined: Jan 2002
Posts: 3,660
Likes: 7
Sidelock
***
Offline
Sidelock
***

Joined: Jan 2002
Posts: 3,660
Likes: 7
The only one I have done was using a method like Gordon's , i.e. disc sander, no jig.

I think it turned out rather well:


JC


"...it is always advisable to perceive clearly our ignorance."ť Charles Darwin
JayCee #161869 09/23/09 10:17 AM
Joined: Dec 2008
Posts: 571
Likes: 9
wburns Offline OP
Sidelock
**
OP Offline
Sidelock
**

Joined: Dec 2008
Posts: 571
Likes: 9
I like the jig due to it limits the possible chance of damaging the stock while using power tools. I guess it all comes down to what you are comfortable with.

wburns #161876 09/23/09 11:07 AM
Joined: Jan 2002
Posts: 3,660
Likes: 7
Sidelock
***
Offline
Sidelock
***

Joined: Jan 2002
Posts: 3,660
Likes: 7
I totally agree. My problem was I did not have a jig and could not get one.
Your method is by far safer, more precise and gives great results.
Very good pictorial btw.

JC


"...it is always advisable to perceive clearly our ignorance."ť Charles Darwin
wburns #161892 09/23/09 12:58 PM
Anonymous
Unregistered
Anonymous
Unregistered

What tools did you use to cut the stock?

#161906 09/23/09 03:00 PM
Joined: Apr 2005
Posts: 1,789
Likes: 20
Sidelock
***
Offline
Sidelock
***

Joined: Apr 2005
Posts: 1,789
Likes: 20
Nice wood on that Manufrance Ideal, JC!
Regards,
Jani

Joined: Jan 2002
Posts: 3,660
Likes: 7
Sidelock
***
Offline
Sidelock
***

Joined: Jan 2002
Posts: 3,660
Likes: 7
Thanks Jani, when I got it it looked like this:


JC


"...it is always advisable to perceive clearly our ignorance."ť Charles Darwin
JayCee #161925 09/23/09 05:23 PM
Joined: Dec 2008
Posts: 571
Likes: 9
wburns Offline OP
Sidelock
**
OP Offline
Sidelock
**

Joined: Dec 2008
Posts: 571
Likes: 9
Ben-T I use a radial arm saw rigged up with a jig to hold the stock. I also use a finer toothed blad to prevent chipping on the edges. I wrap the stock with electrical tape to also prevent chipping on the edge of the cut. I always start my cut into the bottom (toe side) rather than on the comb. I have done several stocks this way having no issues with chipping using this method. Next time I finish making a stock I will take some pictures of the process. I would rather use a good handsaw but I have not found one I liked well enough. I have heard about a Japanese type of saw that cuts on the draw rather than the stroke. From what I have heard they are good for preventing chipping on the final cut. However, I have yet to find a place that sells them.


Link Copied to Clipboard

doublegunshop.com home | Welcome | Sponsors & Advertisers | DoubleGun Rack | Doublegun Book Rack

Order or request info | Other Useful Information

Updated every minute of everyday!


Copyright (c) 1993 - 2024 doublegunshop.com. All rights reserved. doublegunshop.com - Bloomfield, NY 14469. USA These materials are provided by doublegunshop.com as a service to its customers and may be used for informational purposes only. doublegunshop.com assumes no responsibility for errors or omissions in these materials. THESE MATERIALS ARE PROVIDED "AS IS" WITHOUT WARRANTY OF ANY KIND, EITHER EXPRESS OR IMPLIED, INCLUDING BUT NOT LIMITED TO, THE IMPLIED WARRANTIES OF MERCHANT-ABILITY, FITNESS FOR A PARTICULAR PURPOSE, OR NON-INFRINGEMENT. doublegunshop.com further does not warrant the accuracy or completeness of the information, text, graphics, links or other items contained within these materials. doublegunshop.com shall not be liable for any special, indirect, incidental, or consequential damages, including without limitation, lost revenues or lost profits, which may result from the use of these materials. doublegunshop.com may make changes to these materials, or to the products described therein, at any time without notice. doublegunshop.com makes no commitment to update the information contained herein. This is a public un-moderated forum participate at your own risk.

Note: The posting of Copyrighted material on this forum is prohibited without prior written consent of the Copyright holder. For specifics on Copyright Law and restrictions refer to: http://www.copyright.gov/laws/ - doublegunshop.com will not monitor nor will they be held liable for copyright violations presented on the BBS which is an open and un-moderated public forum.

Powered by UBB.threads™ PHP Forum Software 7.7.5
(Release build 20201027)
Responsive Width:

PHP: 7.0.33-0+deb9u11+hw1 Page Time: 0.068s Queries: 32 (0.023s) Memory: 0.8395 MB (Peak: 1.9020 MB) Data Comp: Off Server Time: 2025-12-06 19:23:19 UTC
Valid HTML 5 and Valid CSS